Connecting a vehicle to Home Assistant opens up a world of possibilities for automation and data analysis. WiCAN, leveraging the open source nature of OBDII CAN data, provides a bridge between your car and your smart home. This guide outlines how to integrate WiCAN with Home Assistant using MQTT and Node-RED.
Setting Up WiCAN and Home Assistant
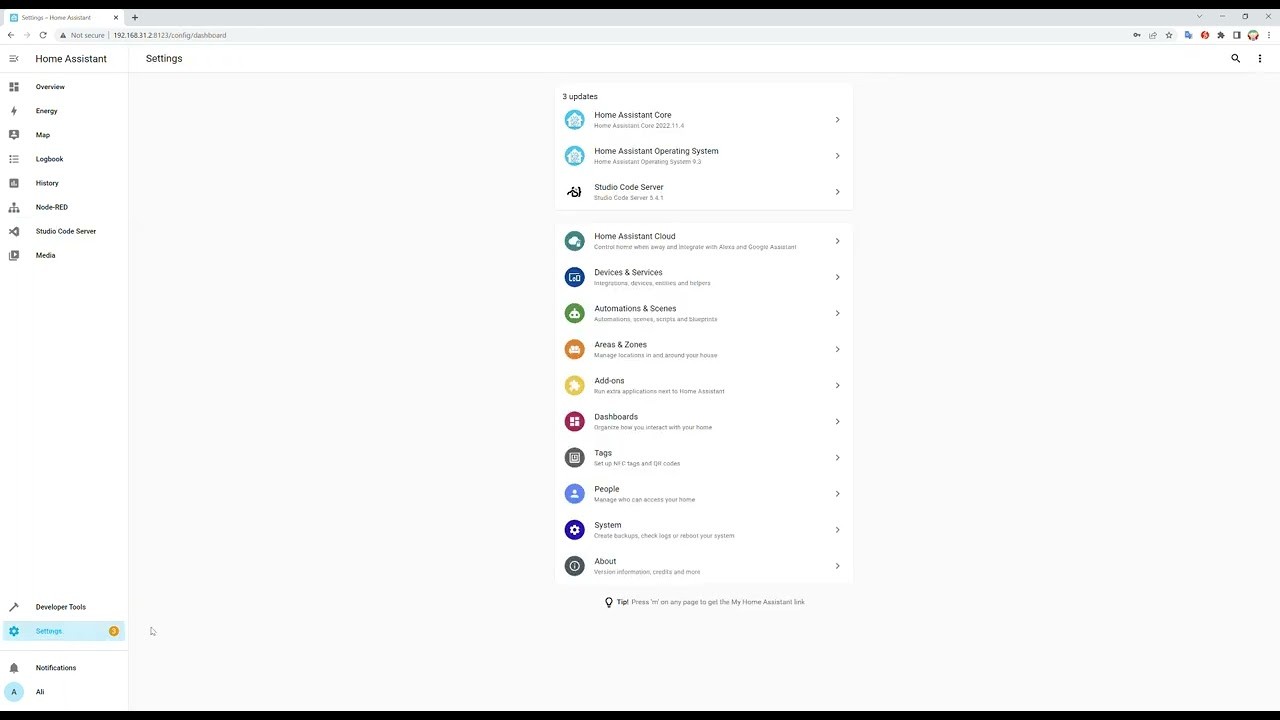
First, ensure you have the necessary components installed in Home Assistant: the Mosquitto broker add-on and the Node-RED add-on. These will handle the communication and automation logic respectively. Next, create a new user account in Home Assistant specifically for WiCAN; these credentials will be used to configure the MQTT settings.
To configure WiCAN, connect to its access point (WiCAN_xxxxxxxxxxxx) and navigate to http://192.168.80.1/ in your web browser. Set the “Mode” to Ap+Station and enter your home Wi-Fi network’s SSID and password.
 WiCAN Configuration
Configuring MQTT and Node-RED
Enable MQTT in WiCAN’s settings and input the Home Assistant credentials created earlier. Download the “wican_example_flow.json” file from the WiCAN GitHub repository (https://github.com/meatpiHQ/wican-fw#home-assistant) and replace “device_id” with your WiCAN’s unique ID.
Import this edited JSON file into your Home Assistant Node-RED instance. Open the subsection node within the flow and configure the server settings with the MQTT broker’s IP address and the previously created credentials. Deploy the flow to activate it.
Creating MQTT Sensors in Home Assistant
To visualize the data from your vehicle in Home Assistant, you need to define MQTT sensors within your configuration.yaml file. Add the following lines, customizing the state_topic and name as needed for each sensor you want to create. Remember to replace “CAR1” with your WiCAN ID.
mqtt:
  sensor:
    - name: "Ambient Temperature"
      state_topic: "CAR1/Amb_Temp"
      unit_of_measurement: "C"
      value_template: "{{ value_json.amb_temp }}"
    - name: "Fuel Level"
      state_topic: "CAR1/Fuel_Level"
      unit_of_measurement: "%"
      value_template: "{{ value_json.fuel_level }}"
Restart Home Assistant after saving the changes to your configuration.yaml file. Once restarted, you can add these new sensors to your Home Assistant dashboard using the entity card.
Utilizing OBDII CAN Open Source Data
This setup, utilizing the readily available Obdii Can Open Source data through WiCAN, allows for a customized and powerful integration with Home Assistant. You can monitor various vehicle parameters in real-time and use this data to trigger automations within your smart home. From simple tasks like turning on your lights when you arrive home to more complex scenarios, the possibilities are vast. Refer to the WiCAN documentation and Home Assistant community for further examples and inspiration.
