Installing a trailer tow package on your 2007 Ford F150 can significantly enhance its utility, allowing you to haul trailers for work or leisure. While the installation process itself is quite straightforward, even with the helpful guides available, you might encounter issues afterward, particularly with trailer lights. One common culprit, often overlooked, is a missing or blown fuse, specifically fuse 41 in your F150’s Battery Junction Box. This guide will walk you through checking fuse 41 and ensure your trailer lights are functioning correctly after installing your tow package.
Many 2004-2008 Ford F150 owners find the process of adding a trailer hitch and wiring harness quite manageable. The fuse box layout might vary slightly across these years, but the core principles remain the same. Let’s break down the installation and troubleshooting process into easy-to-follow steps, keeping in mind the importance of fuse 41.
- Start by removing the old 4-pin wiring harness if your truck was previously equipped with one. Disconnect the two connectors and use an 8mm socket to unbolt the ground screw located on the frame’s cross member. Removing the spare tire might give you more room, though it’s usually not essential. Once removed, your truck frame should resemble the image below. Note the areas marked with red stars in the original image, indicating key points of the harness removal.
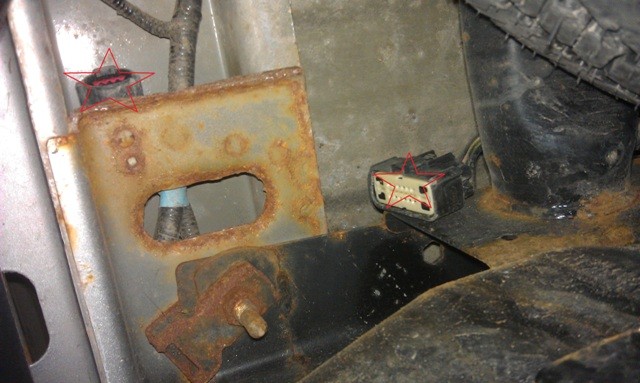 Original 4-pin wiring harness removed from Ford F150
- Acquire your new wiring harness, Ford Part Number 5L3Z-13A576-BA. Compare it to the old harness if applicable. The new harness typically includes both a 7-pin and a 4-pin connector, offering greater versatility. You’ll see the difference in connectors in the image below, with the older 4-pin harness (if present) on the left and the new 7-pin and 4-pin combo harness on the right.
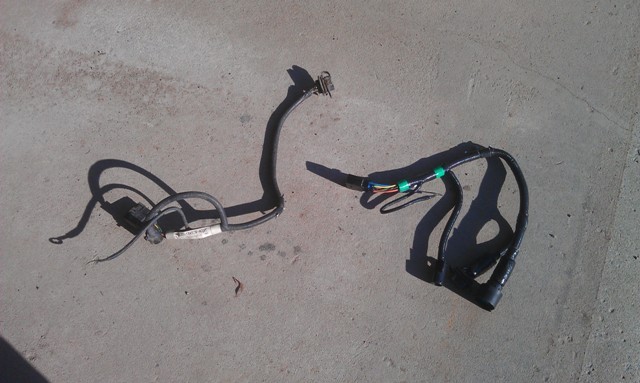 Comparison of old 4-pin and new 7-pin/4-pin trailer wiring harnesses
-
Install the new harness by essentially reversing step 1. Connect the new harness connectors and secure the ground wire to the frame using the 8mm bolt.
-
Connect the 7-pin trailer plug to the new harness. The recommended Ford part number for the 7-Pin Trailer Plug is XL3Z-14489-BA. Ensure it snaps firmly into place. For secure mounting of the 7-pin plug, you can use zip ties to attach it to the bumper. Alternatively, if you have installed a Ford Trailer Hitch, consider using the optional mounting plate, Ford Part Number 5L3Z-17C886-BA, for a cleaner and more robust installation. Zip ties offer a simpler solution if you prefer not to use the mounting plate.
-
Now, let’s address the crucial fuse and relay aspect, and where fuse 41 comes into play. Access your Ford F150’s fuse and relay box. Open the passenger side door and locate the small access door below the glove compartment on the right side. Open this door to reveal a black box. Feel along the bottom for a clip, pull it down and then pull the box out to expose the fuse/relay box. Having a fuse diagram handy is highly recommended. You can often find these diagrams in your owner’s manual or online. Refer to the diagram and check each fuse and relay related to the trailer towing package. Ensure they are of the correct amperage as specified in your owner’s manual or the fuse box diagram. Many times, the relay for the trailer tow package, often Relay #05, is missing. In some cases, fuses might also be absent, particularly if your truck didn’t originally come with a factory towing package. Specifically, check fuse position 41. This fuse is frequently associated with trailer lighting circuits and can be the reason your trailer lights are not working. A missing or blown fuse 41 is a common issue. Carefully inspect fuse 41 and other trailer-related fuses and relays, comparing them to the fuse diagram. Install any missing fuses or relays, ensuring they are the correct type and amperage. After verifying and installing the necessary fuses and relays, including checking fuse 41, securely re-install the fuse box cover and the access panel below the glove compartment.
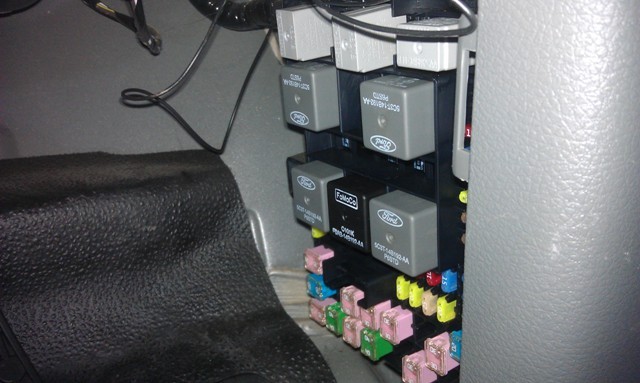 Location of the fuse and relay box in a Ford F150 passenger side
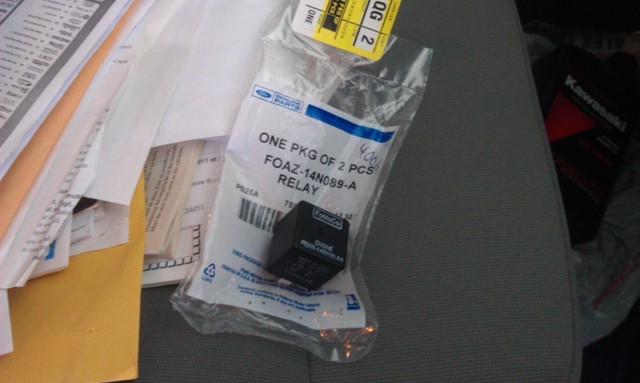 Relay #05 location in the fuse box
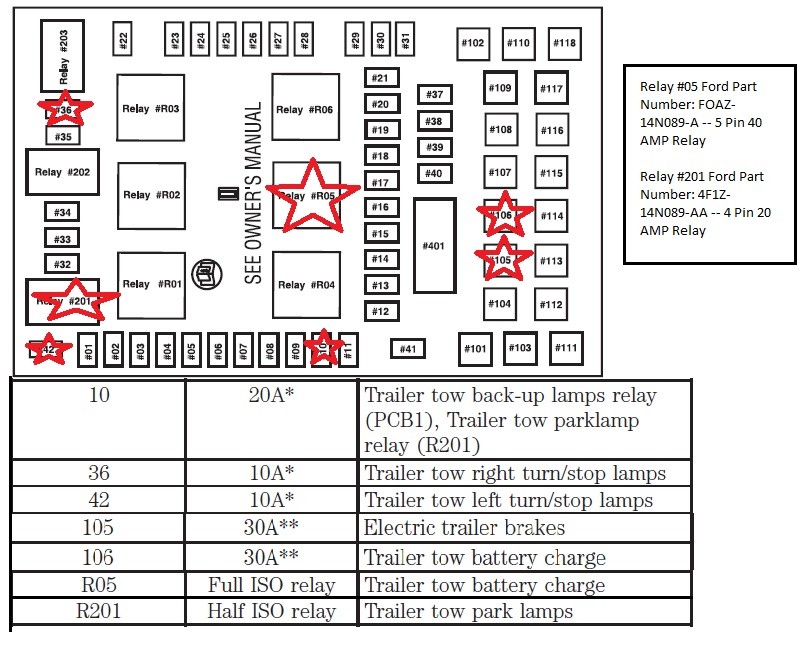 Ford F150 Fuse Box Diagram for reference
- For trailer brake control, you’ll need a brake controller and a compatible wiring harness. Popular options like the Tekonsha P3, paired with a pre-made F150 wiring harness from suppliers like etrailer, simplify this step. Locate the brake controller connector inside the cabin. Open the driver’s side door and look underneath the dash, in line with the brake pedal. The connector is typically positioned near the OBDII port. Connect your brake controller wiring harness to this connector. Mount the brake controller securely in your desired location, always adhering to the manufacturer’s instructions for proper mounting, wiring, and safety guidelines. Incorrect mounting can compromise safety and system functionality. Note that some brake controllers might power on immediately upon connection due to a constant 12V circuit. The connector location is indicated by a star in the image below.
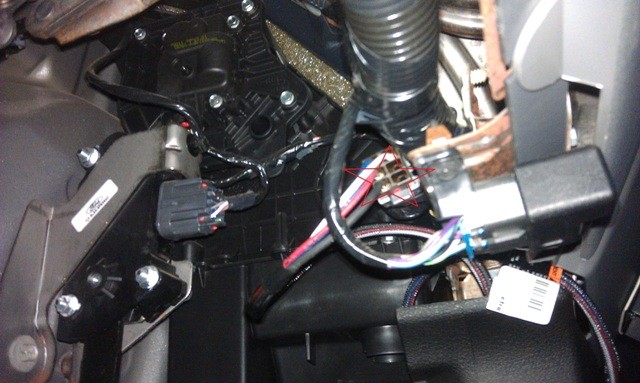 Brake controller connector location near the OBDII port in Ford F150
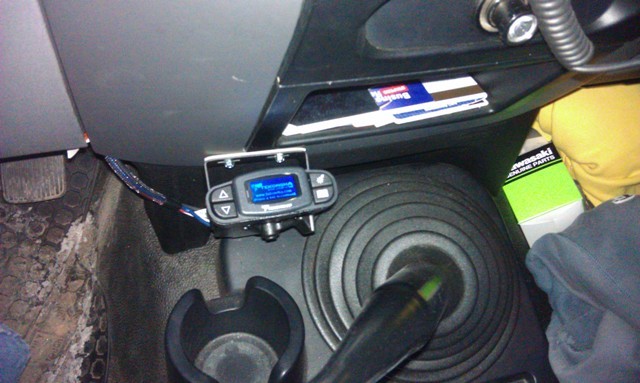 Tekonsha P3 Brake Controller mounted and ready for use
- Final testing is crucial. Use a multimeter or a dedicated trailer wiring tester to check all wiring connections. Test for voltage at the trailer connector pins for functions like running lights, turn signals, brake lights, and importantly, the electric brakes. Ensuring proper voltage at the electric brake pin is critical for trailer braking functionality. If everything tests positive, you are ready to connect your trailer and test the complete setup. Remember to adjust your brake controller settings to match your trailer and braking preferences. If you encounter issues, especially with trailer lights not working, re-check fuse 41 and all trailer-related fuses in your F150’s fuse box. A missing or blown fuse 41 is a frequent cause of trailer light problems after a tow package install on 2007 Ford F150 models.
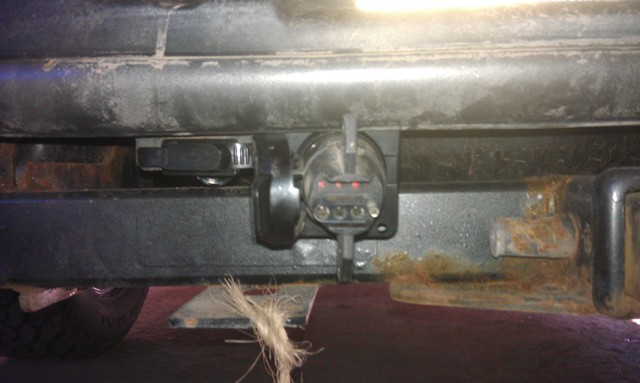 Trailer wiring light tester in use
By following these steps and paying close attention to fuse and relay installation, particularly fuse 41, you can confidently install a trailer tow package on your 2007 Ford F150 and ensure all components, including trailer lights and brakes, operate correctly and safely. Enjoy the enhanced towing capability of your truck!

